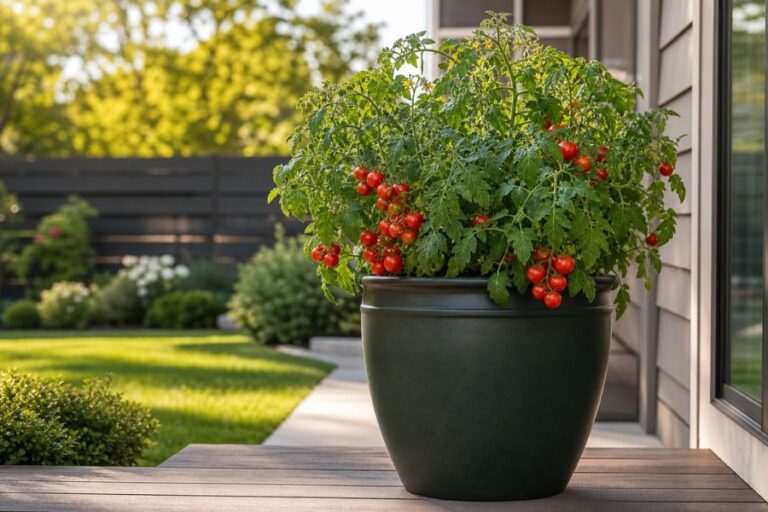
Homemade Plant Fertilizer: 4 Easy DIY Recipes That Actually Work
Why Make Your Own Plant Fertilizer?
Commercial fertilizers work, but they can be expensive, full of synthetic chemicals, and hard on your soil’s natural ecosystem over time. Homemade fertilizers, on the other hand, feed your plants and improve your soil biology — all for a fraction of the cost.
The four recipes below range from totally free (banana peel tea and coffee grounds) to a small one-time investment in a concentrated all-purpose feed that will last you an entire growing season. Every ingredient is safe, natural, and easy to find.
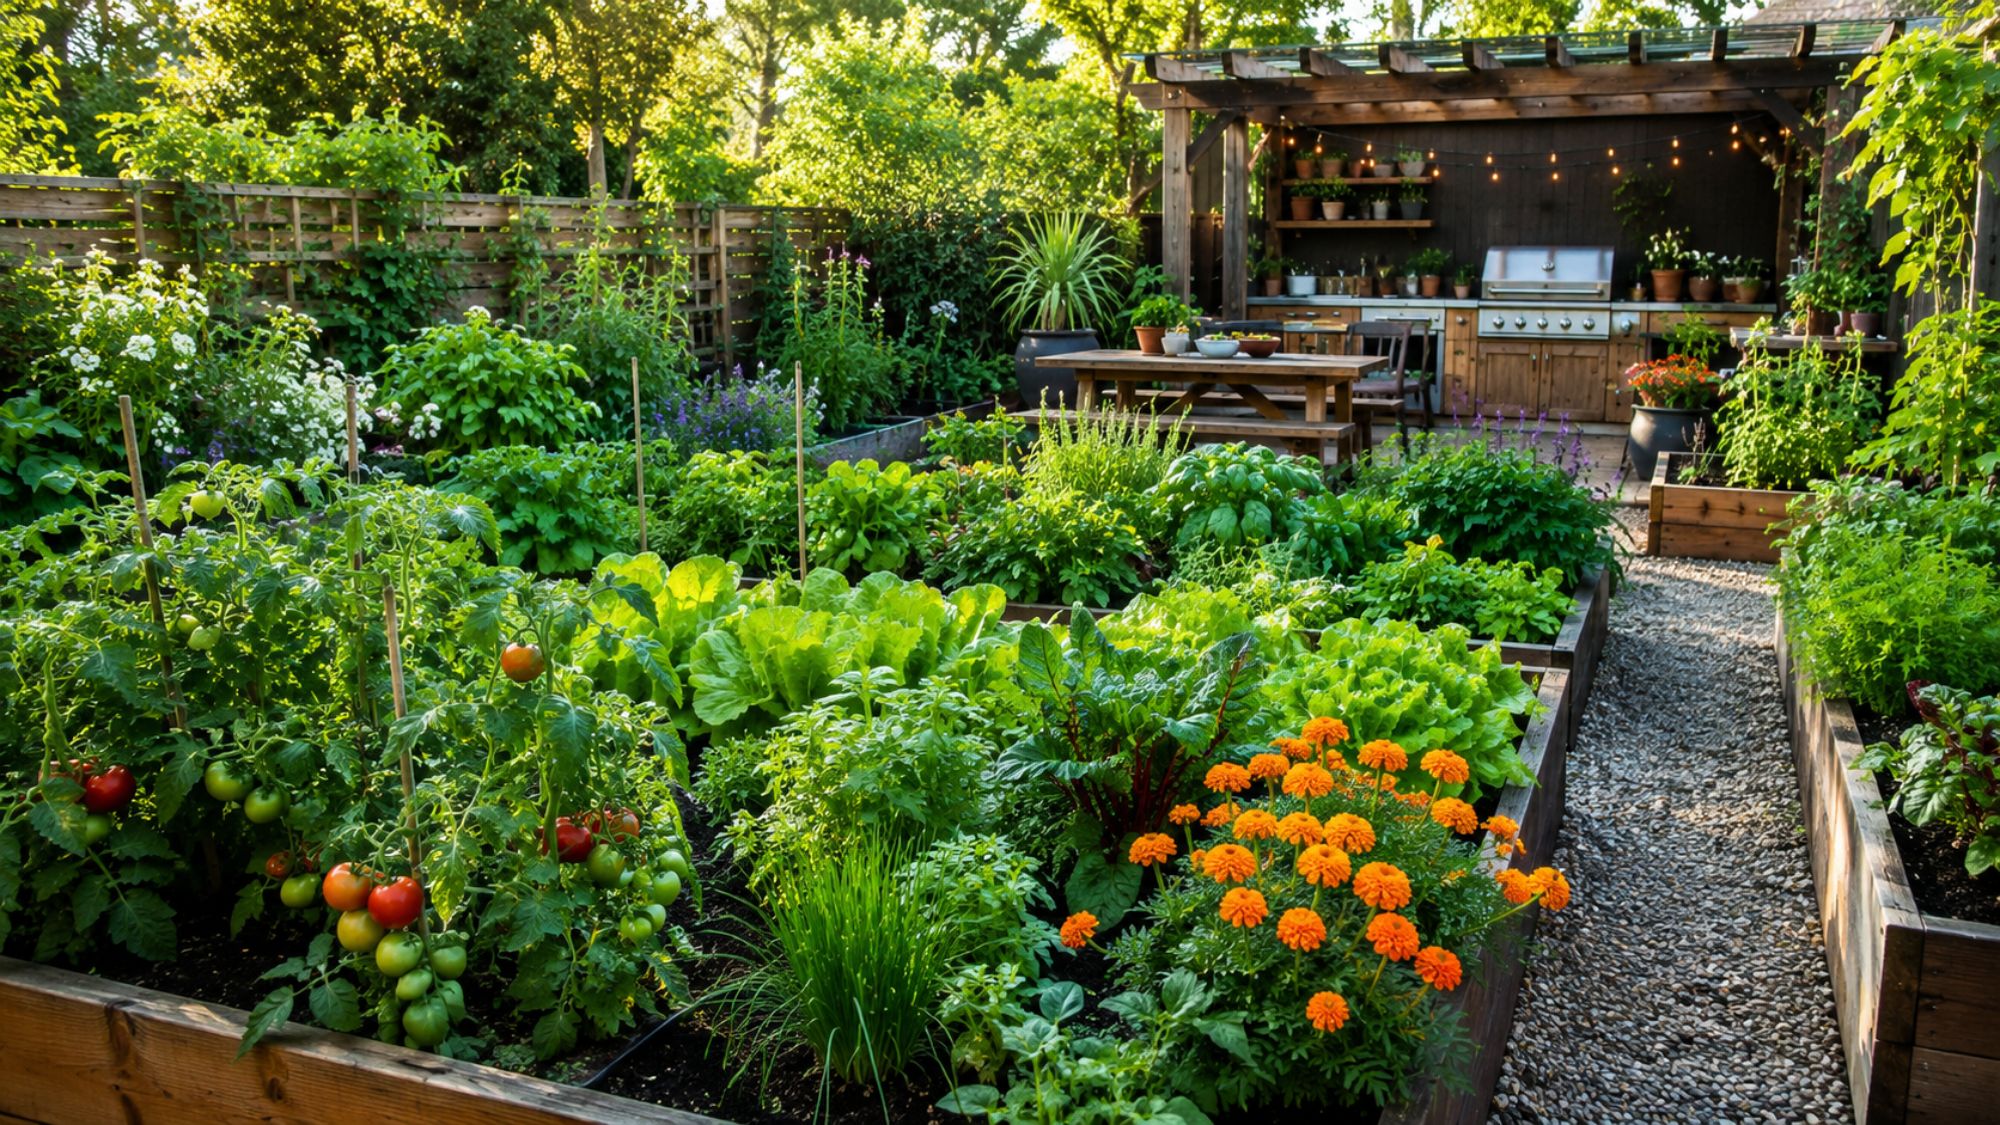
Whether you’re growing tomatoes, houseplants, roses, or herbs, there’s a recipe here for you.
Equipment You’ll Need
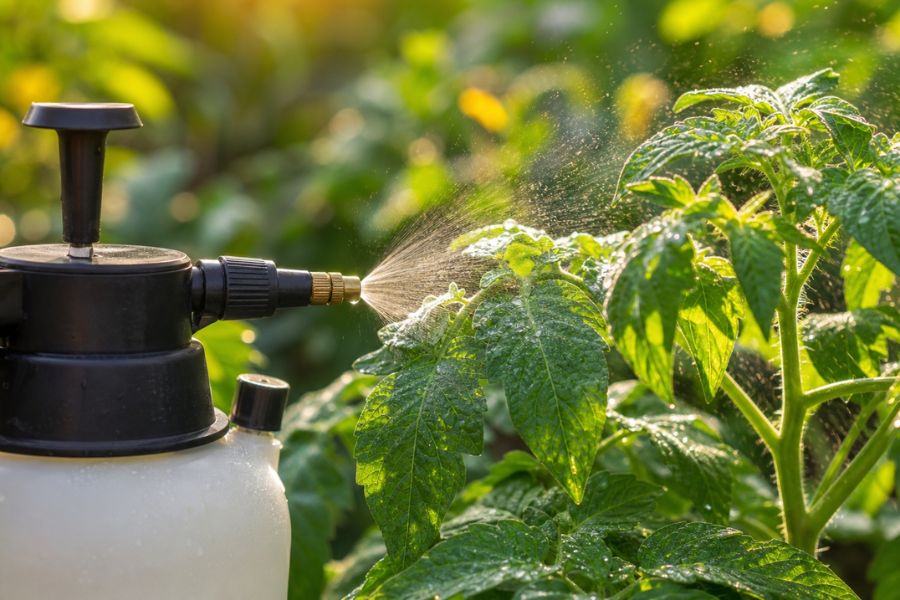
Before you start, it helps to have the right tools on hand. You only need two: a pump sprayer for foliar applications, and a watering can for soil drenches. Both are reusable for years and make applying fertilizer quick and easy.
★ For Foliar Spraying
Chapin 20004 1-Gallon Pump Sprayer — ideal for applying the Epsom salt spray (Recipe 1) and the all-purpose liquid feed (Recipe 4) as a foliar spray. The 1-gallon tank matches the recipe measurements exactly, and the adjustable cone nozzle lets you dial in a fine mist for leaf coverage. The 34″ reach hose makes it easy to spray taller plants without stepping into beds.
Check Price on Amazon ↗★ For Soil Drenching
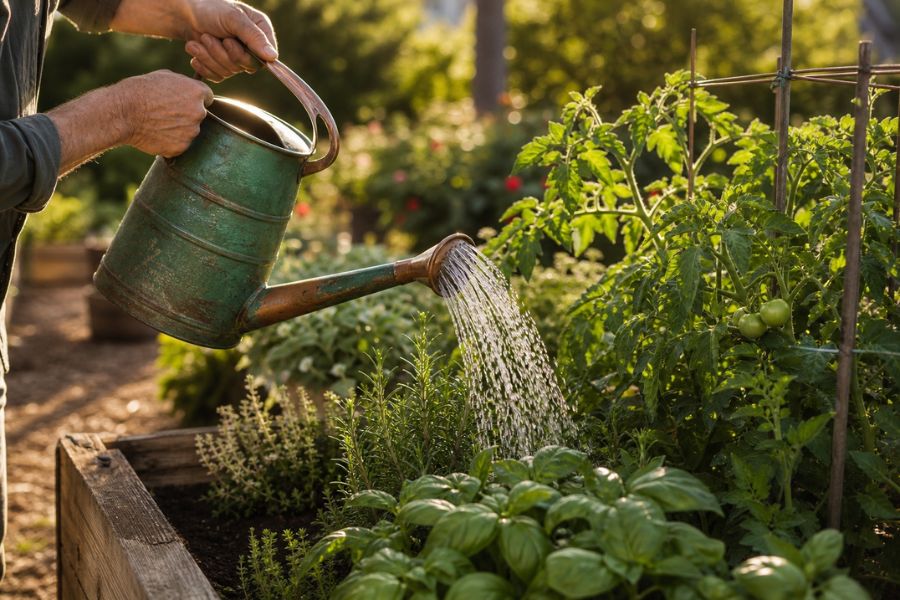
1-Gallon Metal Watering Can with Removable Spout — the beautiful green and copper design makes fertilizing actually enjoyable. The removable rose spout gives a gentle shower for delicate plants, while removing it allows a direct flow for soil drenching. Perfect for Recipes 2, 3, and 4 when applying directly to the root zone.
Check Price on Amazon ↗Epsom Salt Spray (Magnesium Booster)
If your plant leaves are turning yellow between the veins while the veins themselves stay green, that’s a classic sign of magnesium deficiency. Epsom salt — pure magnesium sulfate — is the fastest, cheapest fix available, and it doubles as a sulfur supplement that helps plants absorb nitrogen more efficiently.
What You Need
- 1 tablespoon ★ Amazon Basics Epsom Salt (unscented, 3 lb)
- 1 gallon of water (lukewarm)
- A ★ pump sprayer or watering can
Step-by-Step Instructions
- Fill your spray bottle or watering can with 1 gallon of lukewarm water.
- Add 1 tablespoon of unscented Epsom salt.
- Stir or shake until completely dissolved — this only takes about 30 seconds.
- Water your soil first so it’s moist, then apply the Epsom solution as a soil drench OR spray directly onto leaves as a foliar feed.
- Repeat every 2–4 weeks during the growing season.
What It’s Good For
Epsom salt is especially effective for heavy-feeding fruiting plants. Tomatoes and peppers love a magnesium boost mid-season when fruit is setting. Roses respond with deeper green foliage and more vigorous blooms. It’s also great for any plant showing classic yellowing (chlorosis) between leaf veins.
★ Recommended Product
Amazon Basics Epsom Salt (Unscented, 3 lb) — very affordable and widely available, fragrance-free, and pure magnesium sulfate. The unscented version is essential here — never use scented Epsom salt on plants, as fragrances can harm beneficial soil microbes.
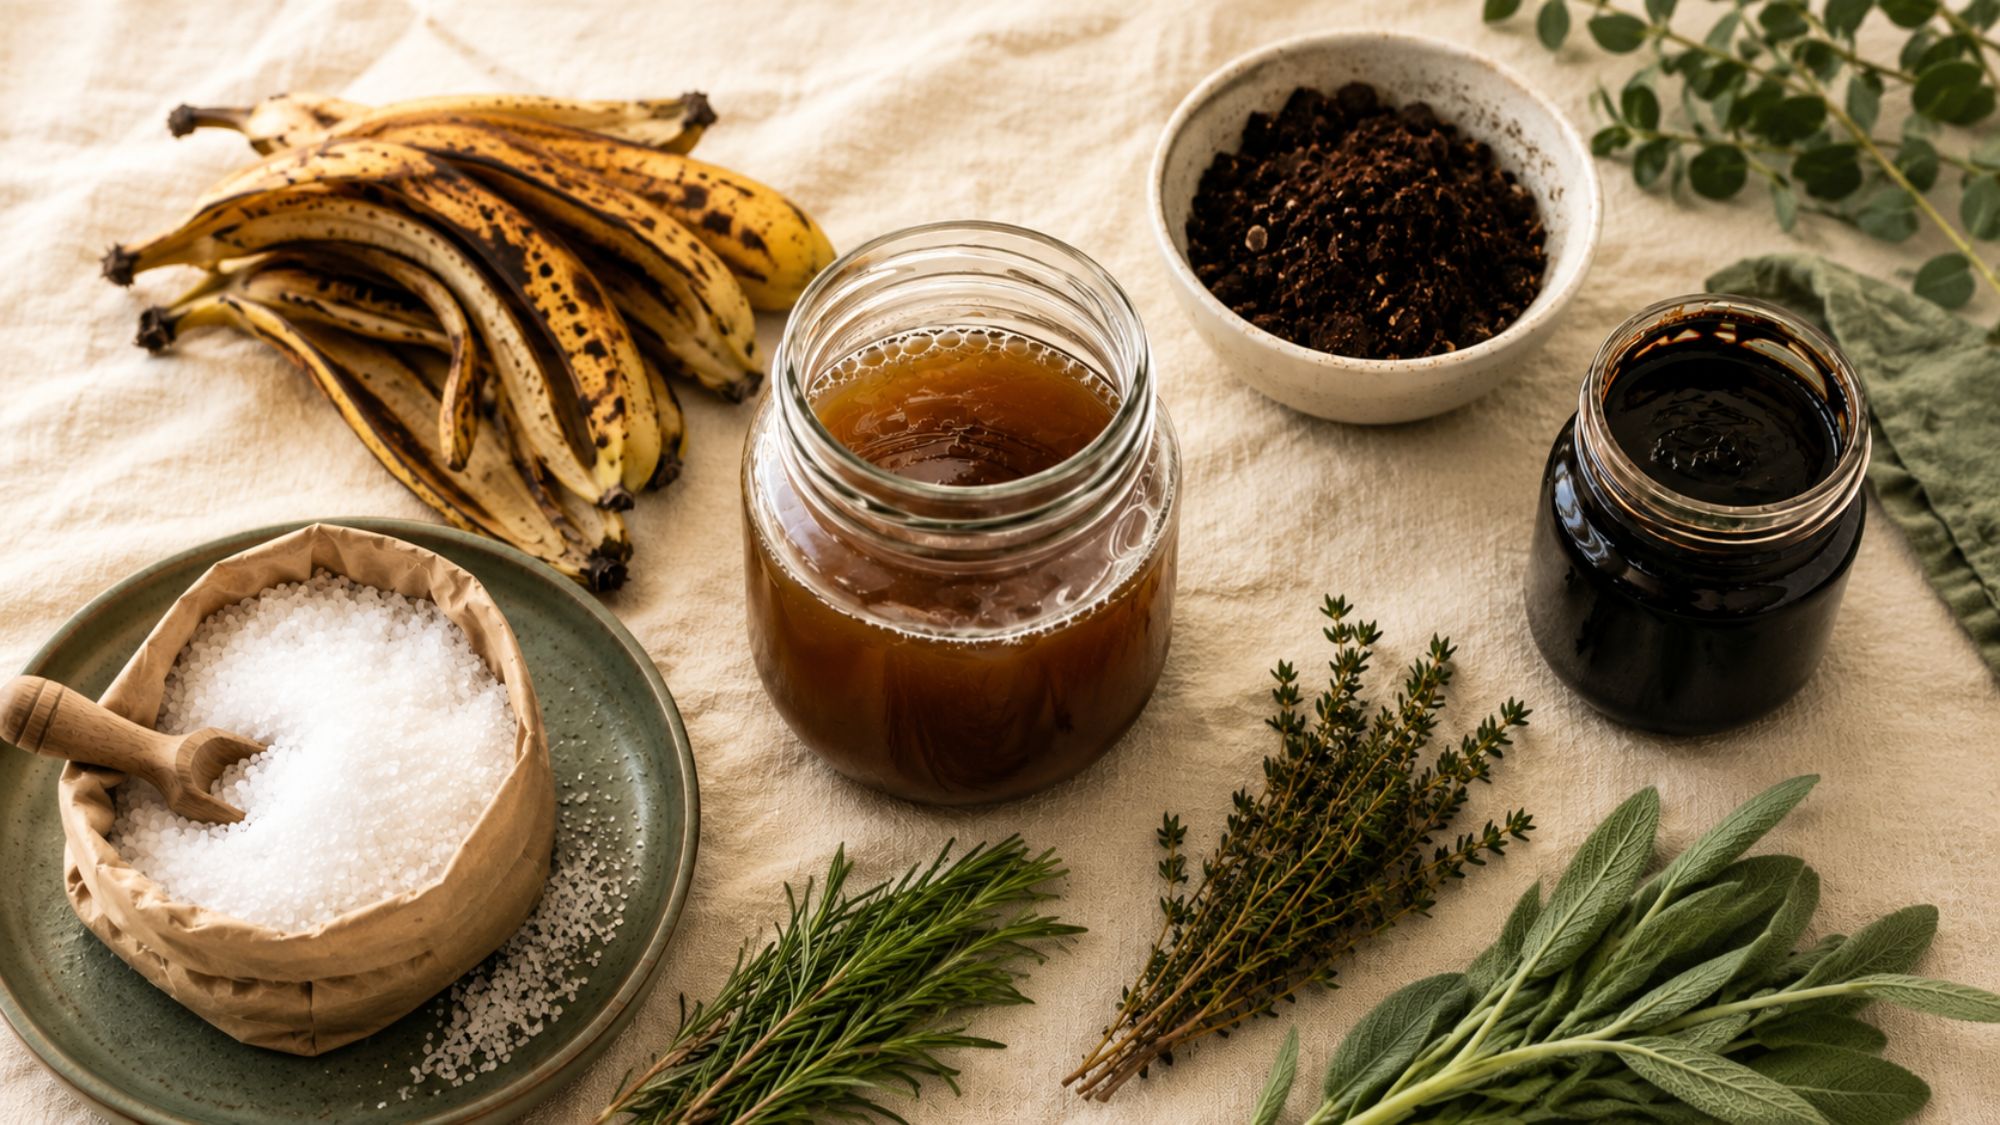
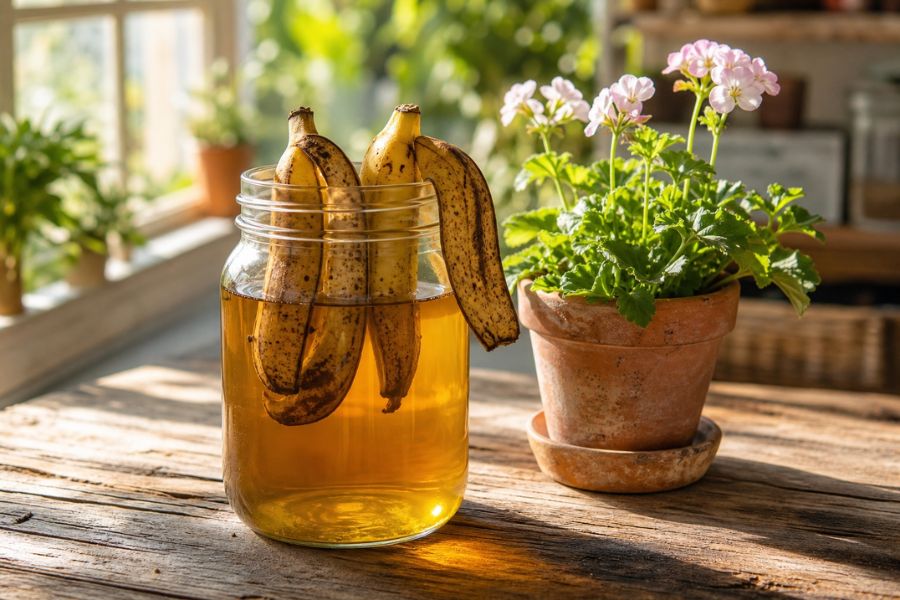
Check Price on Amazon ↗Banana Peel Tea (Potassium & Phosphorus)
Before you toss that banana peel, think of it as free plant food. Banana peels are naturally rich in potassium — the nutrient responsible for strong roots, disease resistance, and abundant flowers and fruit. Steep them in water and you get a gentle, nutrient-rich liquid fertilizer at zero cost.
What You Need
- 2–3 banana peels (fresh or dried)
- 1 quart (4 cups) of water
- A jar or container with a lid
- A ★ watering can for applying
Step-by-Step Instructions
- Place 2–3 banana peels into a jar or container. You can use fresh peels straight away, or dry them first for a more concentrated result.
- Pour 1 quart of water over the peels.
- Seal the container and leave it to steep at room temperature for 24–48 hours.
- Remove and compost the peels, then pour the liquid into a watering can.
- For mature plants, use it straight. For seedlings or young plants, dilute 1 part banana tea to 1 part water first.
- Pour around the base of your plants every 1–2 weeks.
What It’s Good For
Potassium is critical during the flowering and fruiting stage of plant growth. Use banana peel tea when you see flower buds forming on tomatoes, peppers, squash, or any other fruiting vegetable. It’s also excellent for roses (promotes blooms) and potted plants that get depleted of potassium over time.
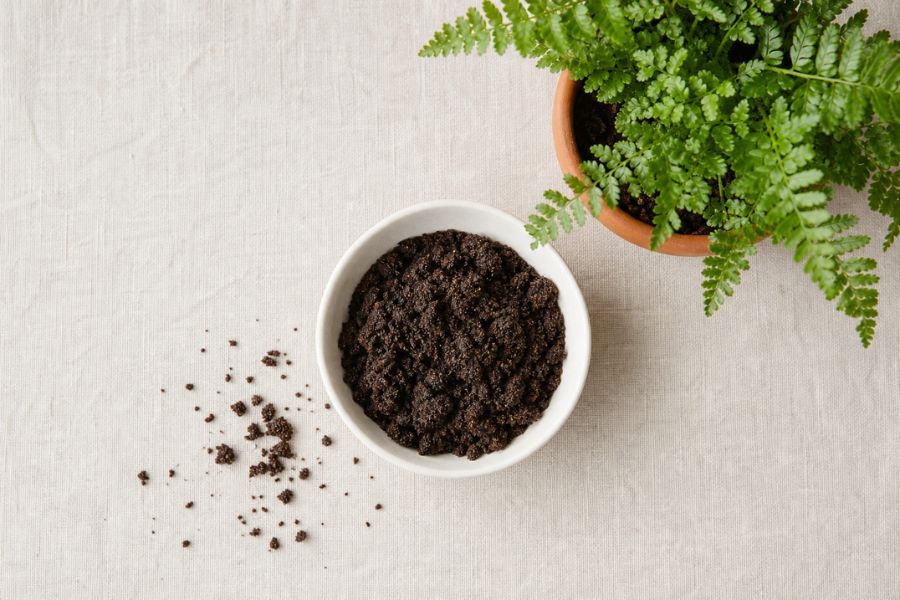
Coffee Ground Drench (Nitrogen Feed)
Used coffee grounds are a brilliant source of slow-release nitrogen — the nutrient that drives leafy, vigorous green growth. Steeping them in water pulls out the nutrients into a liquid you can apply directly to the soil. As a bonus, coffee is slightly acidic, making this fertilizer perfect for acid-loving plants.
What You Need
- 2 cups of used (brewed) coffee grounds
- 5 gallons of water
- A large bucket
- A ★ watering can for applying
Step-by-Step Instructions
- Add 2 cups of used coffee grounds to a 5-gallon bucket.
- Fill the bucket with water and stir to combine.
- Let the mixture steep overnight (8–12 hours minimum).
- Give it a final stir, then use directly as a soil drench — no straining needed.
- Apply around the base of plants every 2–3 weeks.
- After applying, you can also sprinkle the leftover wet grounds around the base of acid-loving plants as a mulch.
What It’s Good For
Coffee ground fertilizer excels with plants that love acidic, nitrogen-rich conditions. Blueberries, azaleas, rhododendrons, and camellias all thrive on it. It’s also great for ferns, hydrangeas, and leafy vegetables like lettuce and spinach during their main growth phase.
Avoid using it on: Lavender, rosemary, tomatoes, and other plants that prefer neutral to alkaline soil — repeated use may drop the pH too low over time.
All-Purpose Liquid Feed (Balanced NPK)
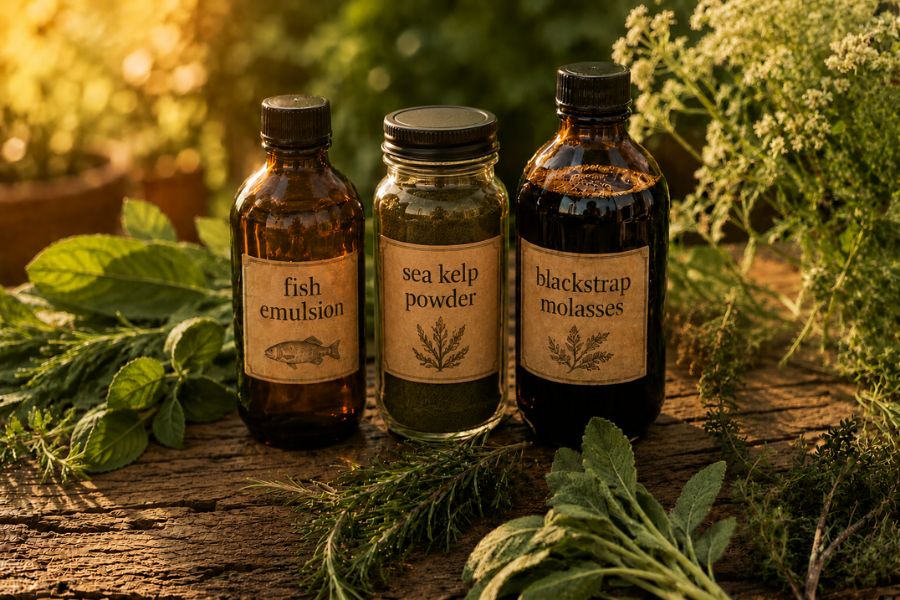
This is the powerhouse of homemade fertilizers — a balanced, professional-grade liquid feed made from three organic ingredients that work together to deliver nitrogen, phosphorus, potassium, and a full spectrum of trace minerals and beneficial microbes. It’s the closest thing to a complete commercial fertilizer you can make at home, for a fraction of the price.
This recipe combines fish emulsion (nitrogen), sea kelp (micronutrients and growth hormones), and unsulfured blackstrap molasses (which feeds beneficial soil bacteria and adds trace minerals). Together they create a living, soil-building fertilizer that gets better the more you use it.
What You Need (per gallon of water)
- 1 tablespoon ★ Alaska Fish Emulsion Fertilizer 5-1-1 (1 Gallon)
- 1 teaspoon ★ Smart Grower Organic Sea Kelp Fertilizer (4oz Water-Soluble)
- 1 teaspoon ★ Golden Barrel Unsulfured Blackstrap Molasses (16 fl oz)
- 1 gallon of lukewarm water
- A ★ pump sprayer or ★ watering can
Step-by-Step Instructions
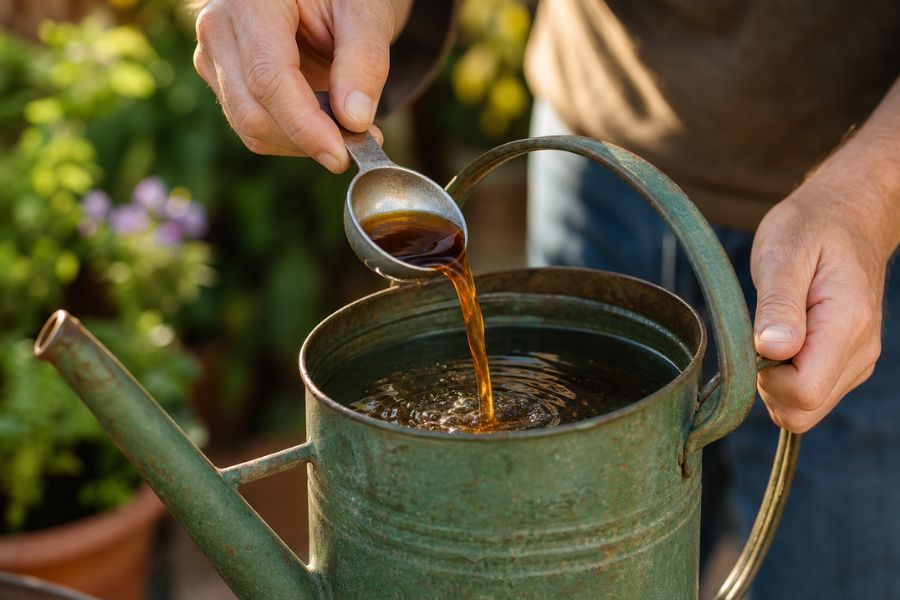
- Fill your watering can or sprayer with 1 gallon of lukewarm water. Avoid cold water — it slows down microbial activity.
- Add 1 tablespoon of fish emulsion and stir well. Note: fish emulsion has a strong smell — this is normal and fades quickly once applied.
- Add 1 teaspoon of sea kelp powder and stir until fully dissolved.
- Add 1 teaspoon of unsulfured blackstrap molasses. Stir thoroughly until the molasses is completely blended in.
- Water your soil lightly first so it’s already moist, then apply your fertilizer mix as a soil drench around the base of plants.
- Apply every 2–4 weeks throughout the growing season. For heavy-feeding plants like tomatoes, every 2 weeks is ideal.
What Each Ingredient Does
- Fish emulsion (5-1-1): Provides a strong shot of nitrogen for vigorous leafy growth and supports all stages of plant development.
- Sea kelp: Delivers over 60 trace minerals plus natural plant growth hormones (cytokinins and auxins) that improve root development and stress resistance.
- Blackstrap molasses: Feeds beneficial soil bacteria and fungi, adds iron, calcium, and magnesium, and acts as a natural chelating agent to help plants absorb other nutrients more effectively.
What It’s Good For
This is a true all-rounder. Use it on vegetables, herbs, ornamentals, fruit trees, roses — virtually anything in your garden will benefit. It’s especially good for plants in containers (which get depleted quickly) and heavy-feeders like tomatoes, squash, corn, and brassicas.
★ Recommended Product
Alaska Fish Emulsion 5-1-1 (1 Gallon) — one of the best-selling fish fertilizers on Amazon with 3,600+ reviews. At 1 tbsp per gallon, a single bottle makes hundreds of applications.
Check Price on Amazon ↗★ Recommended Product
Smart Grower Organic Sea Kelp (4oz, makes 100 gallons) — water-soluble North American kelp that dissolves instantly. Incredibly concentrated — one small bag lasts an entire season for most home gardens.
Check Price on Amazon ↗★ Recommended Product
Golden Barrel Unsulfured Blackstrap Molasses (16 fl oz) — always choose unsulfured molasses for plants. The sulfur in regular molasses can harm the beneficial bacteria you’re trying to feed.
Check Price on Amazon ↗Quick Reference: All 4 Recipes at a Glance
| Recipe | Key Nutrient | Mix Ratio | Frequency | Best For |
|---|---|---|---|---|
| Epsom Salt Spray | Magnesium + Sulfur | 1 tbsp per gallon | Every 2–4 weeks | Tomatoes, roses, yellowing leaves |
| Banana Peel Tea | Potassium + Phosphorus | 2–3 peels per quart | Every 1–2 weeks | Flowering & fruiting plants |
| Coffee Ground Drench | Nitrogen | 2 cups per 5 gallons | Every 2–3 weeks | Acid-lovers, leafy greens |
| All-Purpose Liquid Feed | N + P + K + trace minerals | 1 tbsp fish + 1 tsp kelp + 1 tsp molasses per gallon | Every 2–4 weeks | All plants, heavy feeders |
Tips for Getting the Best Results
Always water before fertilizing
Never apply liquid fertilizer to dry soil. Wet the soil first, then apply your fertilizer mix. Applying to dry roots can cause fertilizer burn, even with gentle organic solutions.
Fertilize in the morning
Morning applications give plants the whole day to absorb nutrients while temperatures are mild. Avoid fertilizing in the heat of the afternoon, which can stress plants and reduce uptake.
Less is more
With homemade fertilizers, the risk of over-fertilizing is much lower than with synthetic feeds — but it’s still possible. Stick to the recommended frequencies and resist the urge to apply more often. Healthy soil biology does most of the heavy lifting.
Rotate your recipes
Using different fertilizers throughout the season prevents nutrient imbalances and ensures your plants get a broad spectrum of what they need. A good rotation: Epsom spray in early spring, all-purpose feed through the main growing season, banana tea when flowering begins.
Frequently Asked Questions
Can I mix all four fertilizers together?
You can combine the all-purpose liquid feed (recipe 4) with Epsom salt — add 1 tablespoon of Epsom salt to the same gallon of water. However, avoid mixing banana peel tea or coffee drench with fish emulsion, as the combination can create an unpleasant fermentation smell and potentially unbalanced nutrient levels.
Are these safe for edible plants and vegetables?
Yes — all four recipes use food-safe, organic ingredients. Fish emulsion, sea kelp, molasses, Epsom salt, banana peels, and coffee grounds are all completely safe for edible crops. Just avoid foliar spraying (spraying leaves) close to harvest time.
How long before I see results?
Foliar sprays (like the Epsom salt spray) can show results within 3–7 days as plants absorb nutrients directly through their leaves. Soil drenches typically take 1–3 weeks before you notice improved growth or color, as nutrients need to be processed by soil biology first.
Can I use these on indoor houseplants?
Yes, with one caveat: fish emulsion has a noticeable smell that dissipates outdoors within an hour but may linger indoors. For houseplants, you might prefer the Epsom salt spray, banana peel tea, or sea kelp alone (without the fish emulsion) to keep things odor-free indoors.
Do I need all the ingredients for recipe 4?
No — fish emulsion alone makes an excellent fertilizer, as does sea kelp alone. The molasses is optional but highly recommended as it significantly boosts the microbial life in your soil over time. You can start with just the fish emulsion and kelp and add molasses once you have it on hand.
Start Feeding Your Garden the Natural Way
Making your own plant fertilizer is one of the easiest ways to improve your garden while saving money. These four recipes cover every nutrient your plants need — from magnesium and nitrogen through to potassium, trace minerals, and the beneficial soil microbes that make everything else work better.
The best part? You can start today with things you already have at home. Grab those banana peels, save your coffee grounds, and when you’re ready to level up, the three-ingredient all-purpose feed is one of the best things you can do for your garden’s long-term health.
Full Shopping List
Everything you need for all four recipes:
- ★ Amazon Basics Epsom Salt, Unscented 3 lb
- ★ Alaska Fish Emulsion Fertilizer 5-1-1, 1 Gallon
- ★ Smart Grower Organic Sea Kelp Fertilizer, 4oz
- ★ Golden Barrel Unsulfured Blackstrap Molasses, 16 fl oz
- ★ Chapin 1-Gallon Pump Sprayer (for foliar spraying)
- ★ 1-Gallon Metal Watering Can (for soil drenching)